Photo-Day Perfection: Kitchen-to-Porch Photo Staging Checklist
Room-by-room photo staging checklist from kitchen to porch.
Fast Answer
Follow a room-by-room photo staging checklist: clear surfaces, balance lighting, hide cords & bins, then reset for showings. It’s fast, repeatable, and photo-proven.
Overview
When it’s time to prepare home for photos, a reliable photo staging checklist beats guesswork. Photographers need clean lines, consistent light, and zero visual noise. This kitchen-to-porch routine gets your MLS photos right the first time and adapts easily for showings—so you’re not scrambling. Less clutter, better angles, shorter days on market. Simple.
Why Photos Carry So Much Weight
Great images set buyer expectations before they step inside. Clear counters, uncluttered floors, and neutral styling help lenses read a room accurately—classic real estate photography tips. You’re not trying to wow with decor; you’re proving space, storage, and light. That honesty builds trust and supports a smoother offer cycle.
The Kitchen-to-Porch Routine (Repeat for Showings)
Work left to right; touch each item once. Shoot-day targets are in minutes, not hours.
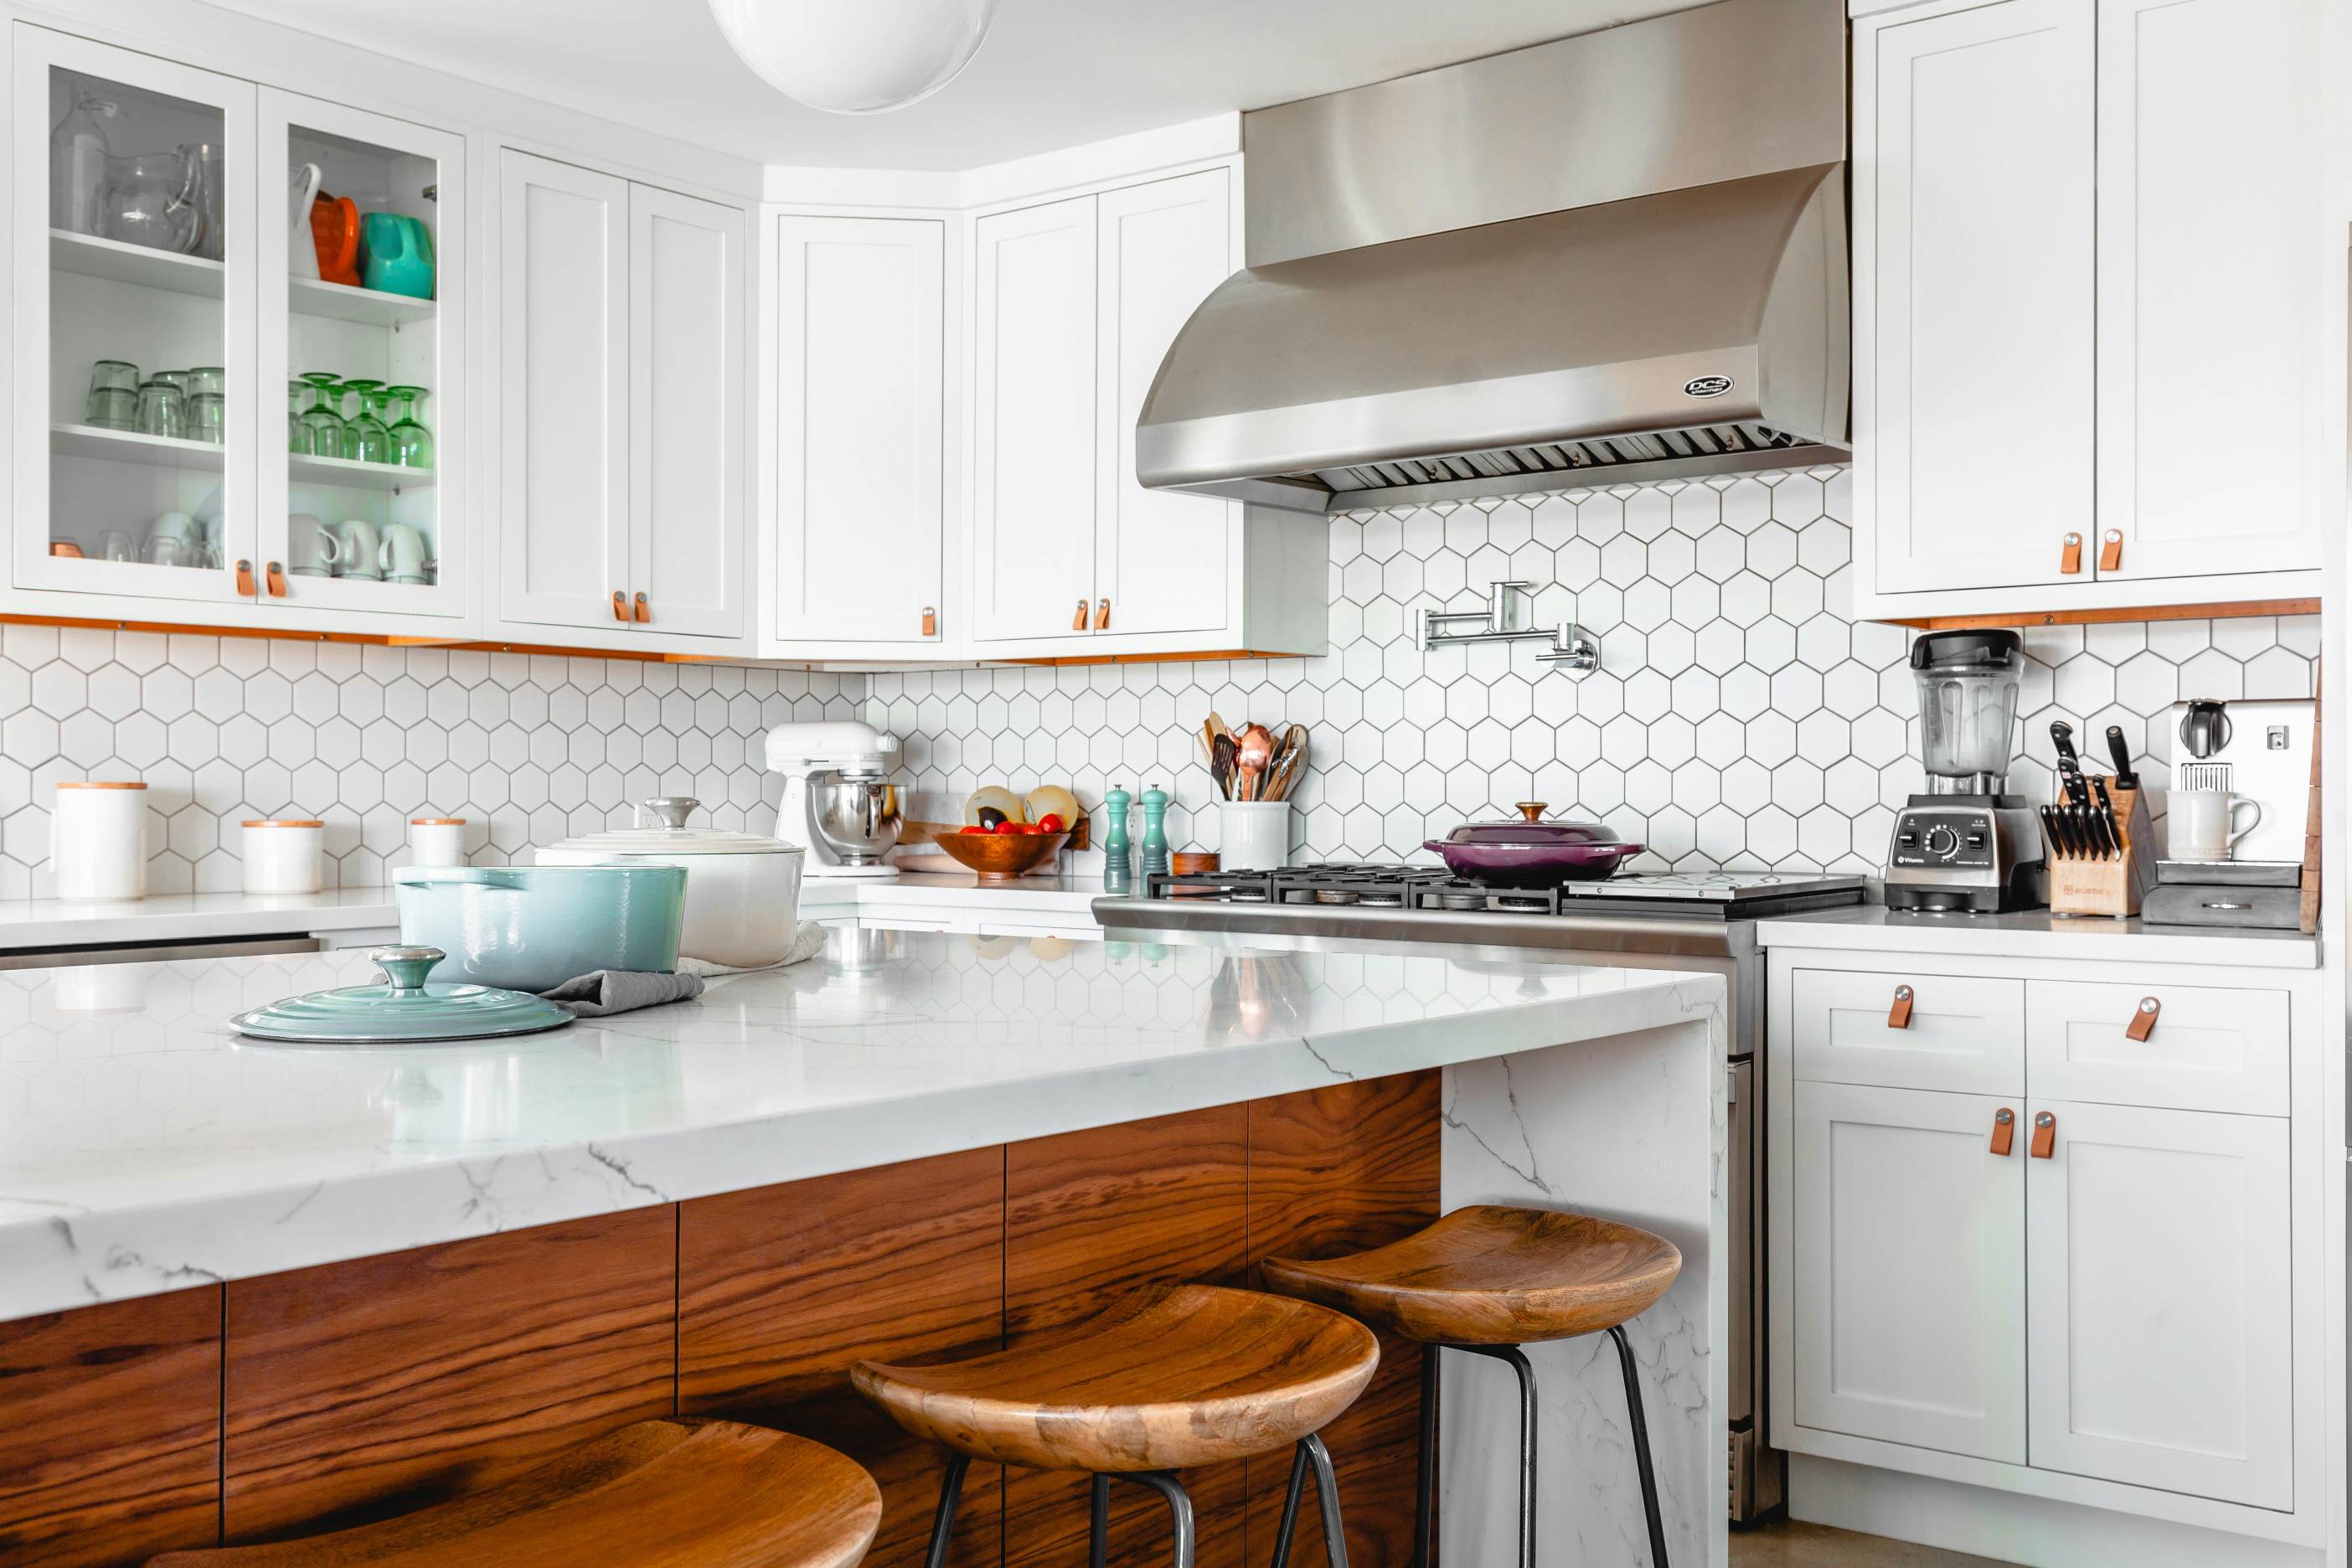
- Kitchen (12–15 min)
- Counters: toaster/coffee only. Everything else boxed.
- Sinks: empty, wiped, no sponge.
- Fridge: clear magnets/notes.
- Hide trash/recycling; pull floor mats.
- Dining (5–7 min)
- Table: bare wood or runner + simple centerpiece.
- Chairs aligned; leaves even; no place settings.
- Living (8–10 min)
- Surfaces: 1–2 decor items each.
- Fold throws; limit pillows; hide remotes/cables.
- Open blinds; lift shades to the same height.
- Beds & Baths (15–20 min total)
- Beds tight; two pillows per sleeper; no stuffed animals.
- Nightstands: lamp + one item.
- Bath: fresh towels, clear counters, lid down, mats pulled.
- Entry & Hall (5 min)
- Shoes/coats hidden; mail gone; mirror wiped.
- Porch/Patio (8–10 min)
- Sweep; stage two chairs; simple planter; hose/nozzle hidden.
- Lights on; doormat clean and square.
Reset for showings: Replace only daily items (soap, paper towel roll). Leave counters and floors clear.
Light, Angles, and Timing (Don’t Overthink It)
Photos look best when light temperatures match and windows are clean. Turn on every fixture, replace mismatched bulbs, and open blinds evenly. Your photographer will choose angles; your job is removing anything that competes with lines and light.
Pro Tip: If trees throw harsh shadows at noon, ask for late-afternoon shots or a brief “twilight” exterior. It’s a 20-minute add that often elevates the cover photo.
What Speeds Things Up
- One laundry basket per room: toss/hide, then stash in car
- Matched bulb color (2700–3000K) across visible rooms
- Pre-labeled bin for cords/chargers/remotes
- Microfiber + glass cleaner staged at the entry
- Pets off-site; litter boxes out of frame and out of house
What Slows Things Down
- “Maybe” decor piles—make a decision or box it
- Busy textiles (heavy patterns) that moiré on camera
- Wet lawns/porches right before exterior shots
- Open toilet lids, dangling cables, visible air fresheners
- Asymmetrical blinds or crooked art
Quick Checklists
Photo Day — Morning Of
- All lights on; matching bulbs
- Counters bare; trash out; bins in car
- Beds tight; towels fresh; toilet lids down
- Windows/blinds clean and aligned
- Porch swept; hose and cans hidden
Before Each Showing
- Quick wipe of sinks/mirrors
- Fluff sofa; align pillows; hide remotes
- Open blinds; turn on lamps
- Quiet scent (or none); thermostat comfortable
Values-First Wrap-Up
Good stewardship shows up in small things: clean, orderly spaces and honest photos that respect a buyer’s time. This routine keeps you calm and consistent—no frantic resets, just a home presented truthfully at its best.
Action
Download the Peace-of-Mind Blueprint—you’ll get the printable, photographer-approved checklist and a simple timing plan for photos, showings, and the first open house.